Genesis - How to Create the Blog Page
There are two ways to set up the blog page. You can set it up normally, which will display a list of posts, or you can set it up in a grid format!
01. How to Set up the Blog Page With a Normal List of Posts
For an example, see here.
- Go to Settings > Reading
- Next to Your Homepage Displays, choose Latest Posts and save
- Next, go to Pages and create a page called "Blog"
- Scroll to the bottom until you find Custom Fields (if you don't see Custom Fields, see my note below)
- In the dropdown under Name, select query_args. If you don't see it in the dropdown, click "enter new" and write it.
- Then, under Value, write &showposts=5
- You can change the number from 5 to the number of posts you want. This will change the number of posts that will display on the blog page.
- You can adjust the blog and grid settings in Appearance > Customize > Theme Settings > Content Archives
- Your blog page should be yoursite.com/blog

*Note: If you don't see the Custom Fields section:
- Click the 3 dots in the top right corner of the page
- Click Options at the bottom
- Check the option to Display Custom Fields. You should now see the Custom Fields section.

02. How to Display the Blog Page in a Grid Format
- Create a page called "Homepage" and leave it blank. Don't adjust anything or add any content.
- Create a page called "Blog" if you haven't already.
- Go to Settings > Reading
- Next to Your Homepage Displays, choose A Static Page
- Next to Homepage, choose the Homepage from the dropdown.
- Next to Posts, choose the Blog page.
- Adjust the grid layout in the Archive settings. Appearance > Customize > Theme Settings > Content Archives > Archive Grid
- Your blog page will be yoursite.com/blog
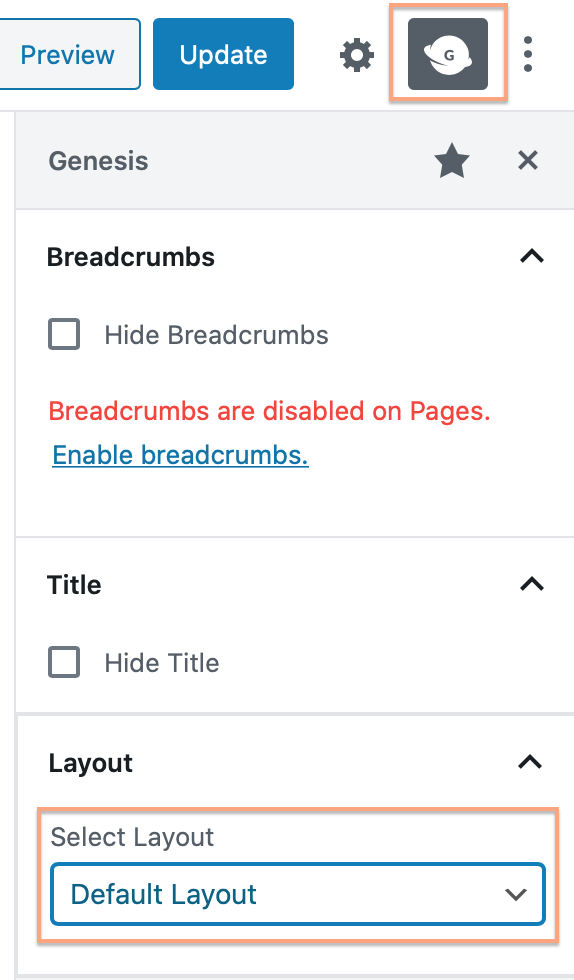
How to Change the Layout of the Blog Page
- Go to Pages and click on your blog page.
- Click on the Genesis "G" icon in the upper right hand corner
- Under Layout, choose the layout want