
Kadence – Shop The Post and Affiliate Product Sliders
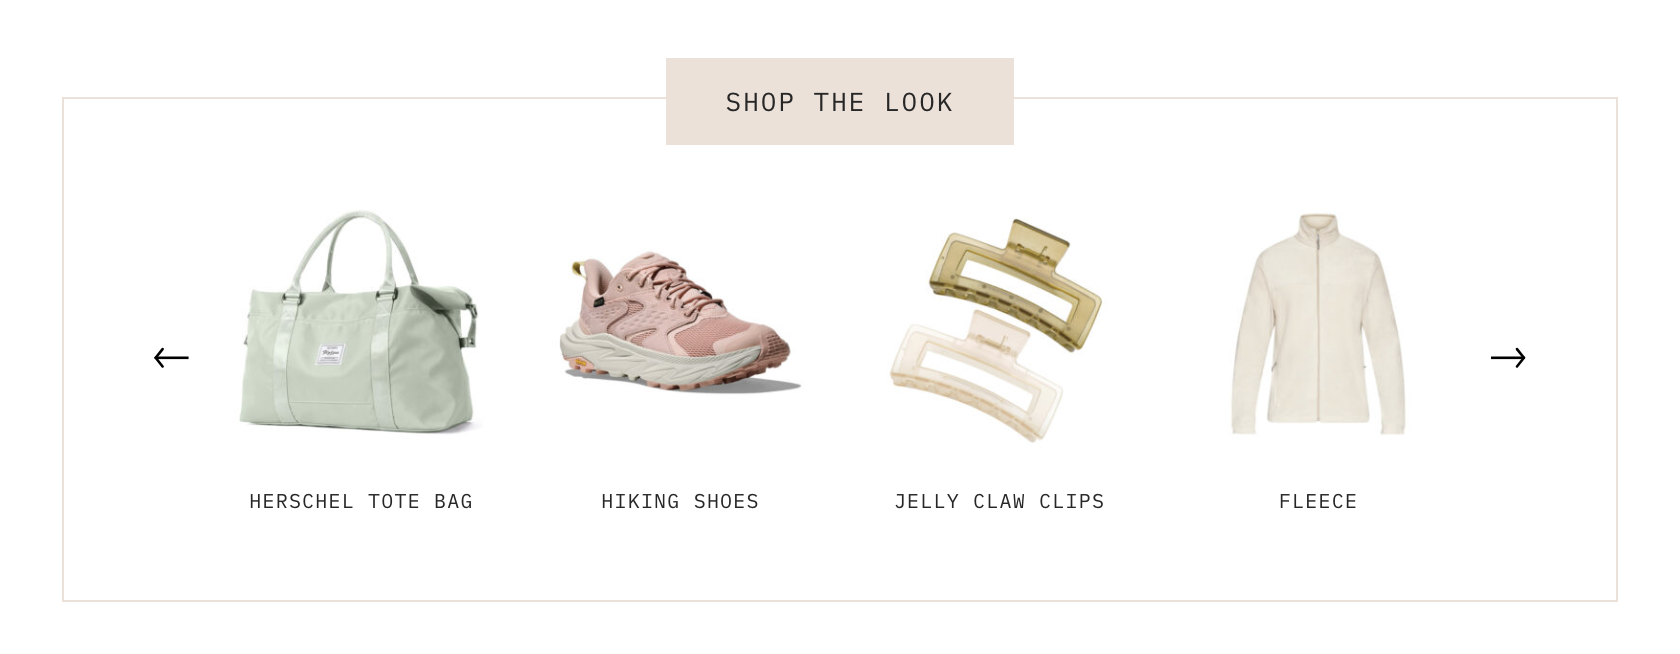
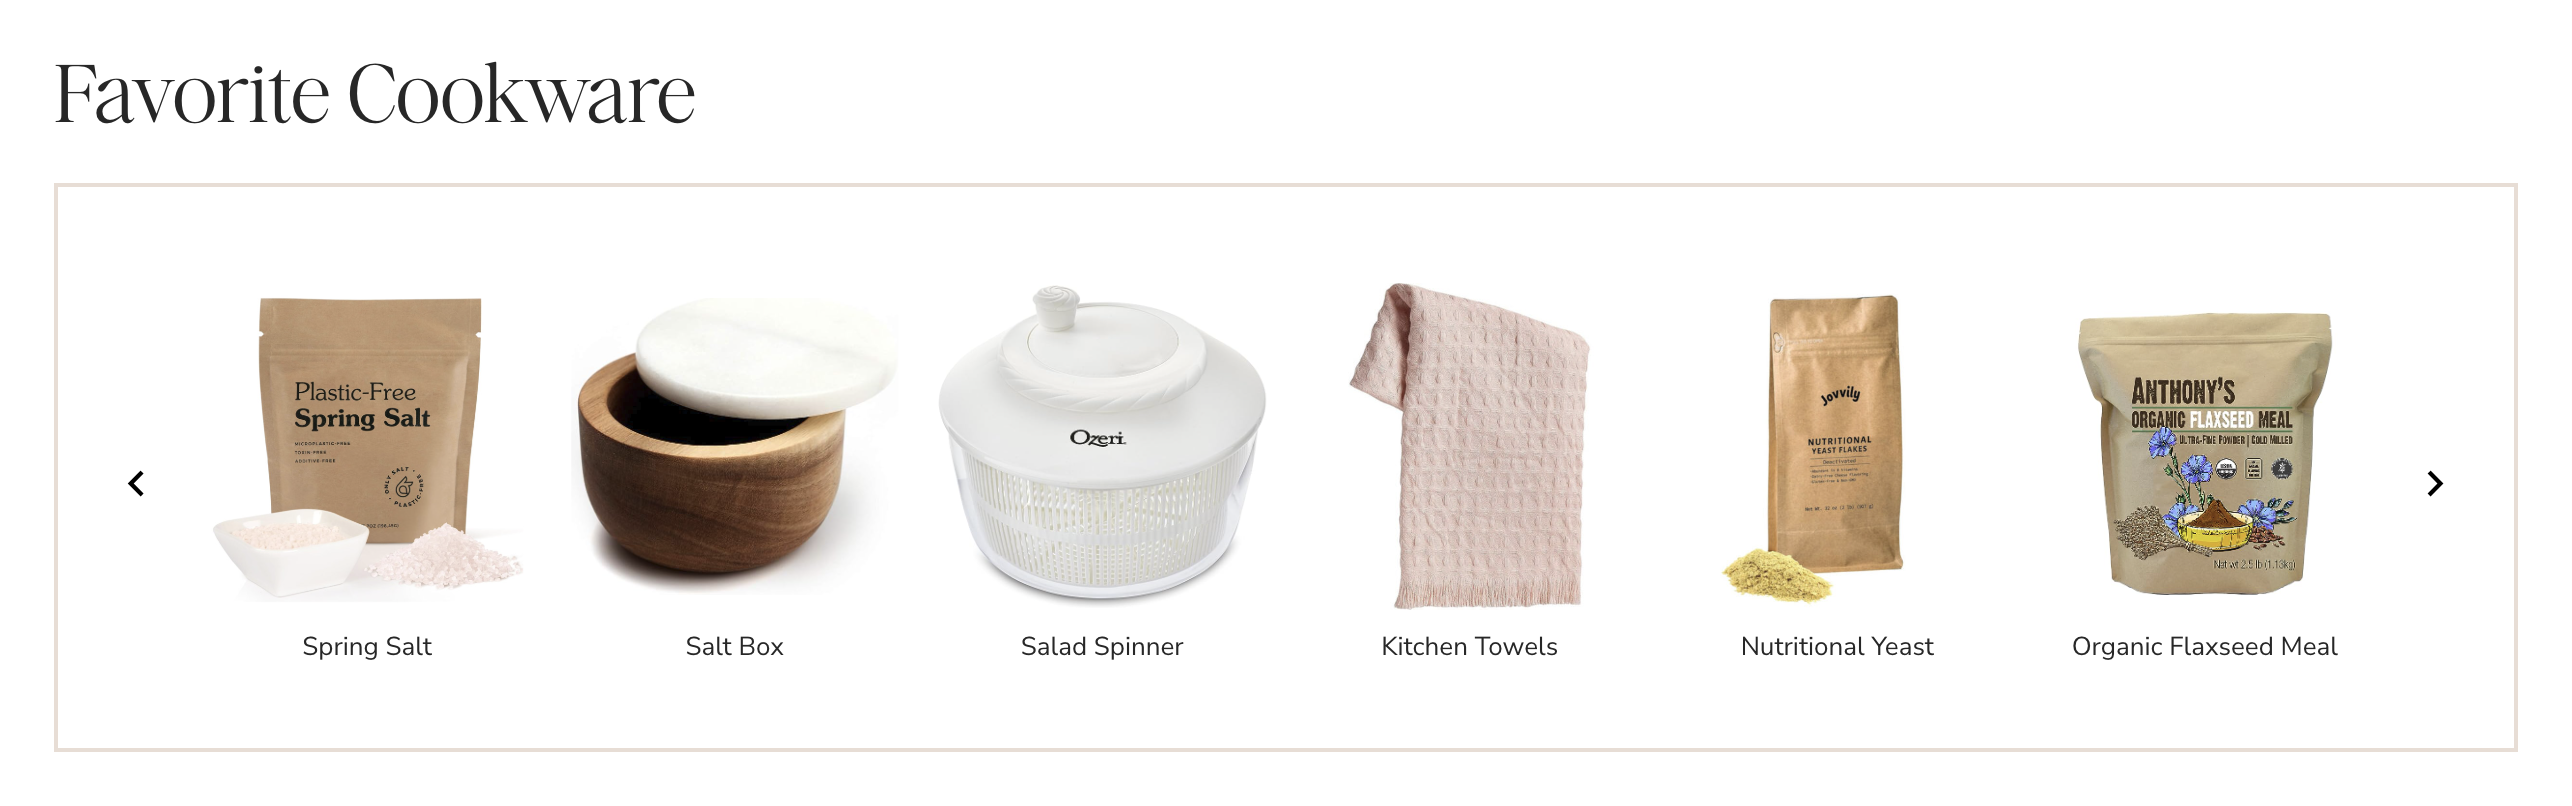
These types of sections are actually just Kadence Gallery blocks, set to Carousel (slider) mode. The design can vary a bit from theme to theme, but they all work the same way under the hood — as an affiliate product slider.
Editing Your Products
-
Click into the Gallery block, then click the Add/Edit Gallery Images icon in the toolbar.
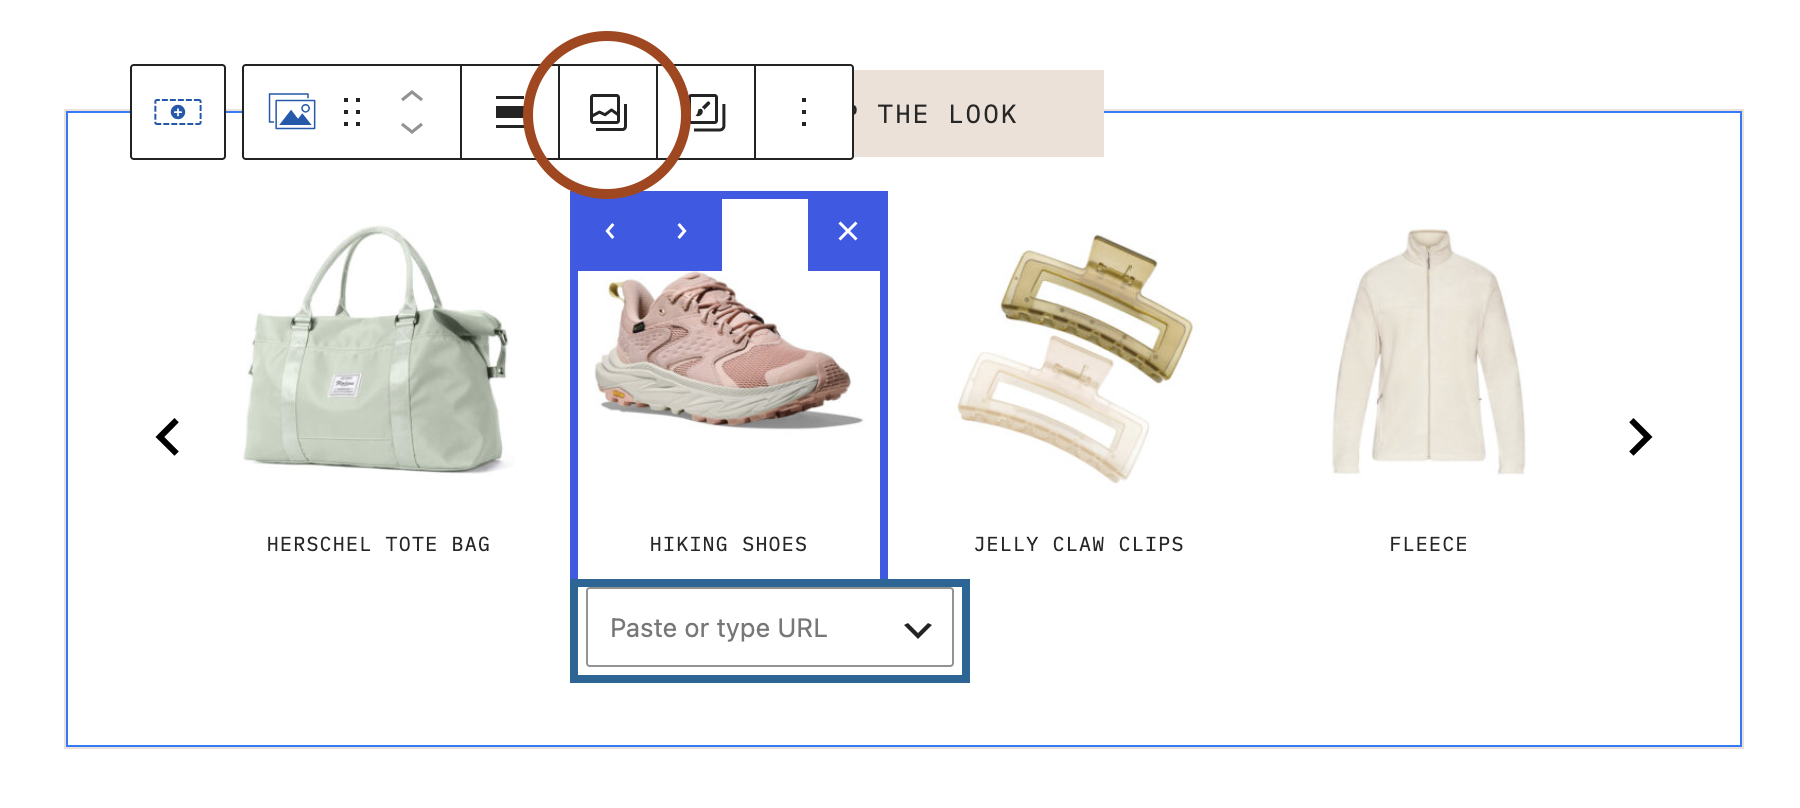
Add/Edit the product images - This opens a window showing your current images. Click the X on any product image you want to remove.
- On the left, click Add to Gallery. This opens your media library, where you can select existing images or click the Upload Files tab to upload new product photos (**see my image tips at the bottom of this page). You can select multiple images at once.
- Once you've selected your images, click Add to Gallery in the bottom right to bring them in.
- While you're in this Edit Gallery window, you can also drag and drop your images to rearrange the order they'll appear in.

Adding Product Titles
The image caption acts as the product title — whatever caption is set on an image is what displays underneath it in the slider.
While you're still in the gallery editing window, click on an image to select it. On the right, you'll see that image's settings appear, including a Caption field — type your product title here.

When you're finished, click Update Gallery in the bottom right. You should now see your products in the slider!
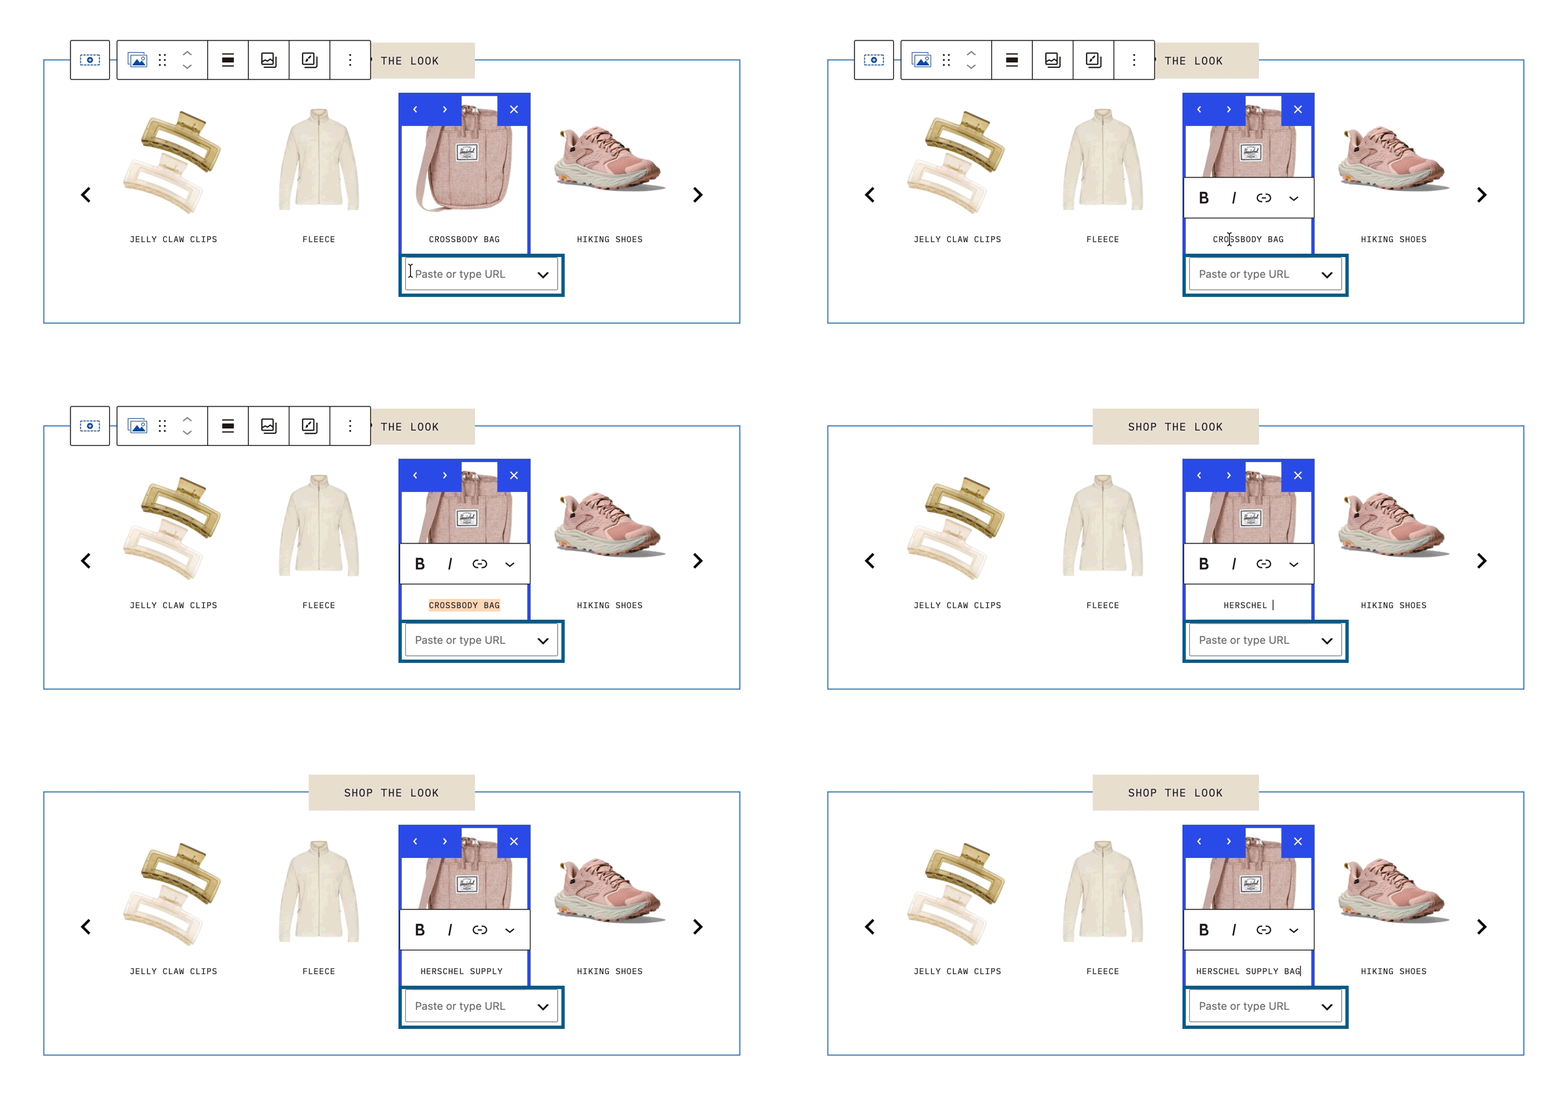
💡 You can also update a caption later without reopening the gallery — just click directly into the caption text under any product image, like this:
Adding Affiliate Links
Click directly on a product image in the slider. A small box will pop up that says "Paste or type a URL" — this is where you'll paste in your affiliate link. You'll need to repeat this for each image individually.

A couple of settings I recommend turning on while you're there:
- Open in New Tab — Enabling it keeps visitors from leaving your site when they click a product.
- Sponsored — since these are affiliate links, Google asks site owners to mark them as "sponsored." This tells search engines the link is a paid/affiliate link, which helps protect your site from being flagged for undisclosed paid links. I'd recommend enabling this for every affiliate link you add.
If you don't see these options, click the little down arrow next to the URL field.
Customizing the Slider
Click the Gallery block, then look to the block settings on the right-hand side. From here, you can adjust the number of columns, the gutter (spacing between products), the caption/title font styling, and more.
Product Image Tips
Sizing Your Images
I recommend cropping and resizing your product photos before uploading them. In my theme demos, I typically size product images as a square, somewhere around 600x600px.
Backgrounds
My theme demos show product images with white or transparent backgrounds — it's a small detail, but it goes a long way in making your slider feel clean and cohesive.
If your product photos distracting backgrounds, here are a few easy ways to remove them:
- Canva Pro includes a one-click Background Remover tool.
- Many AI tools (like ChatGPT or Gemini) can remove a background. Just upload your photos and ask.
- remove.bg is a popular free online tool built specifically for this.
Once you've removed the background, save your image as a transparent PNG before uploading it to WordPress. A JPG works completely fine too, if you're okay with your images having a white background.
Using Your Own Widgets
If you're an influencer working with an affiliate platform like RewardStyle (LTK) or Collective Voice, you might prefer to skip the Gallery block altogether and embed a widget generated directly through your platform instead. If that sounds like you, check out my video walkthrough here.